Imagine yourself sitting in a cozy cafe in Japan, surrounded by the sweet aroma of freshly baked pastries and the gentle hum of conversation. The air is filled with the scent of matcha, a vibrant green tea powder that is a staple in Japanese cuisine. As you take a bite of a decadent Matcha Coconut Cream Tart, you are transported to a world of flavor and texture unlike anything you have ever experienced before.
Why My Family Loves This Treat
My family has always had a love for all things sweet and indulgent, and the Matcha Coconut Cream Tart is no exception. The combination of rich coconut cream and earthy matcha creates a harmonious balance of flavors that is simply irresistible. Every time we make this tart, it brings us together in the kitchen, creating memories that will last a lifetime.
The History and Origins of the Dish
The Matcha Coconut Cream Tart has its roots in traditional Japanese cuisine, where matcha is often used in desserts for its unique flavor and vibrant color. The tart itself is a modern twist on classic coconut cream pie, with the addition of matcha adding a new dimension of taste and visual appeal.
Reasons to Make This Dish
- It is a unique and delicious dessert that will impress your friends and family.
- The combination of matcha and coconut cream creates a perfect balance of flavors.
- It is a fun and creative way to incorporate matcha into your baking repertoire.
Ingredients:
- For the crust:
- 1 1/2 cups graham cracker crumbs
- 1/3 cup sugar
- 1/2 cup melted butter
- For the filling:
- 1 can coconut milk
- 1/2 cup sugar
- 1/4 cup cornstarch
- 2 tbsp matcha powder
- For the topping:
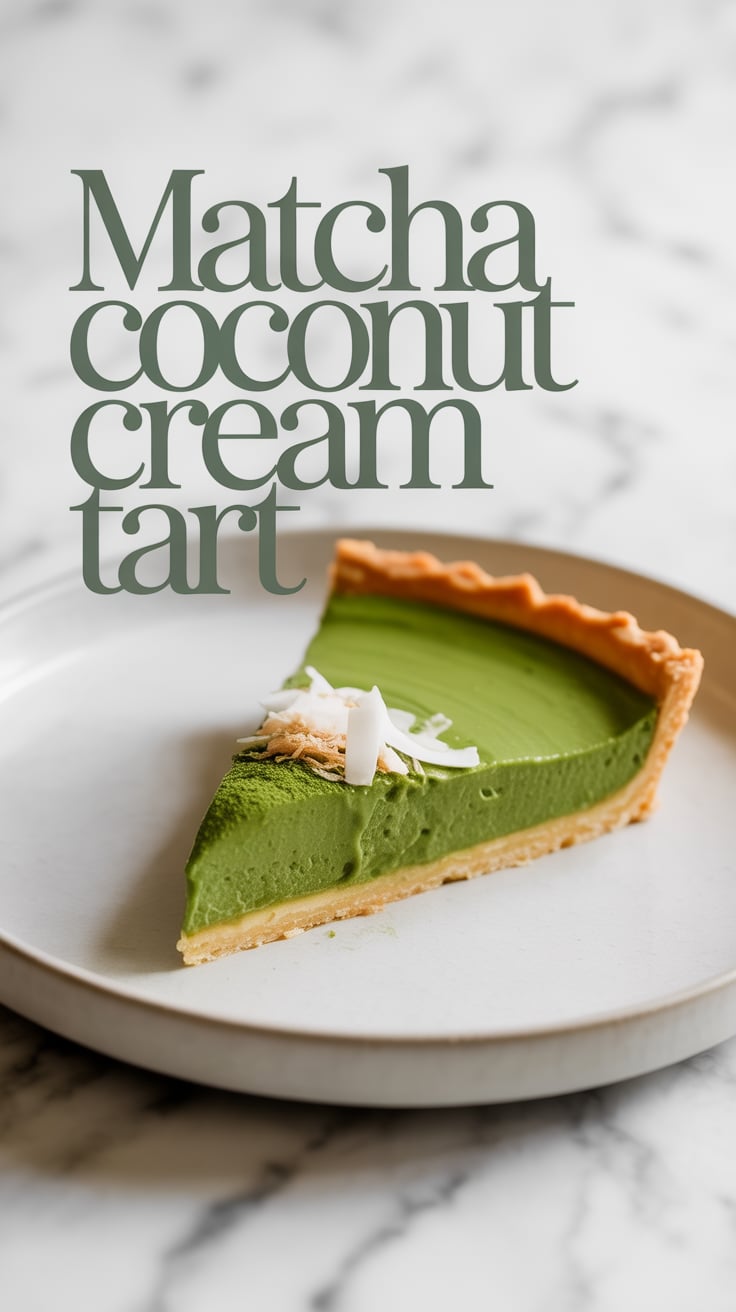
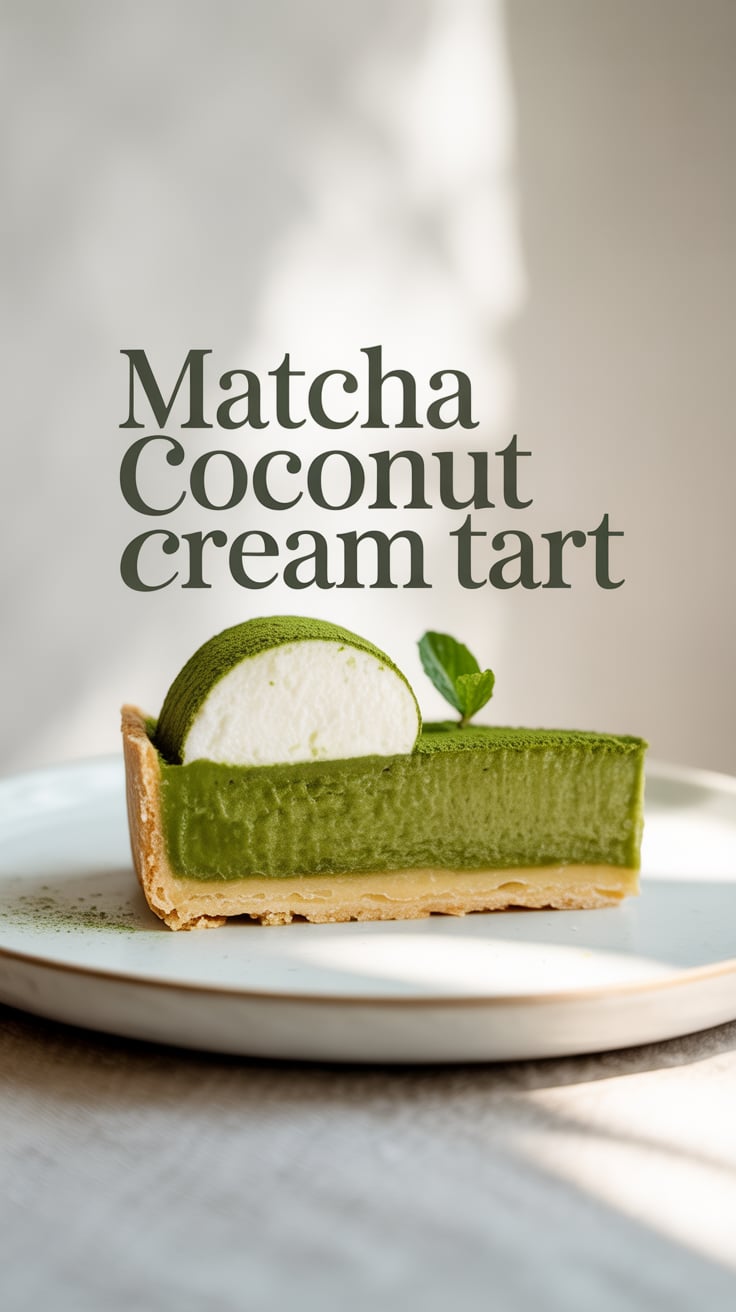
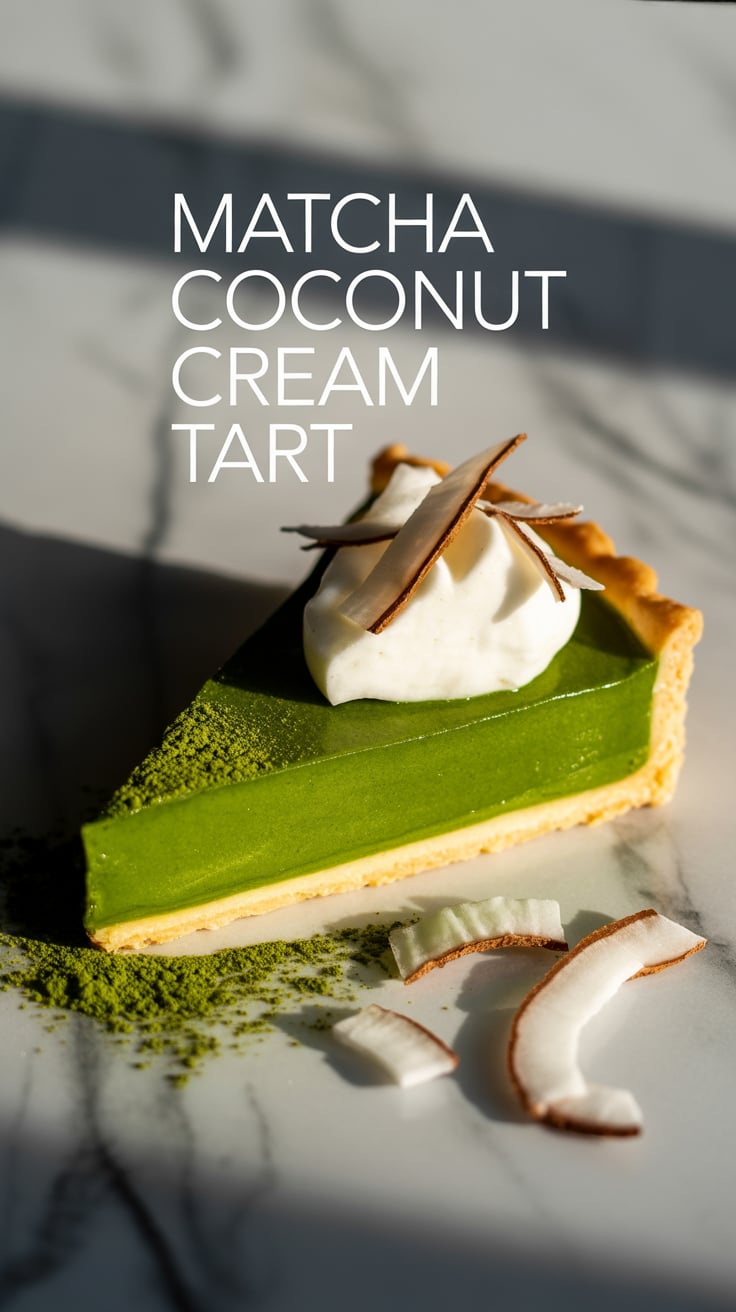
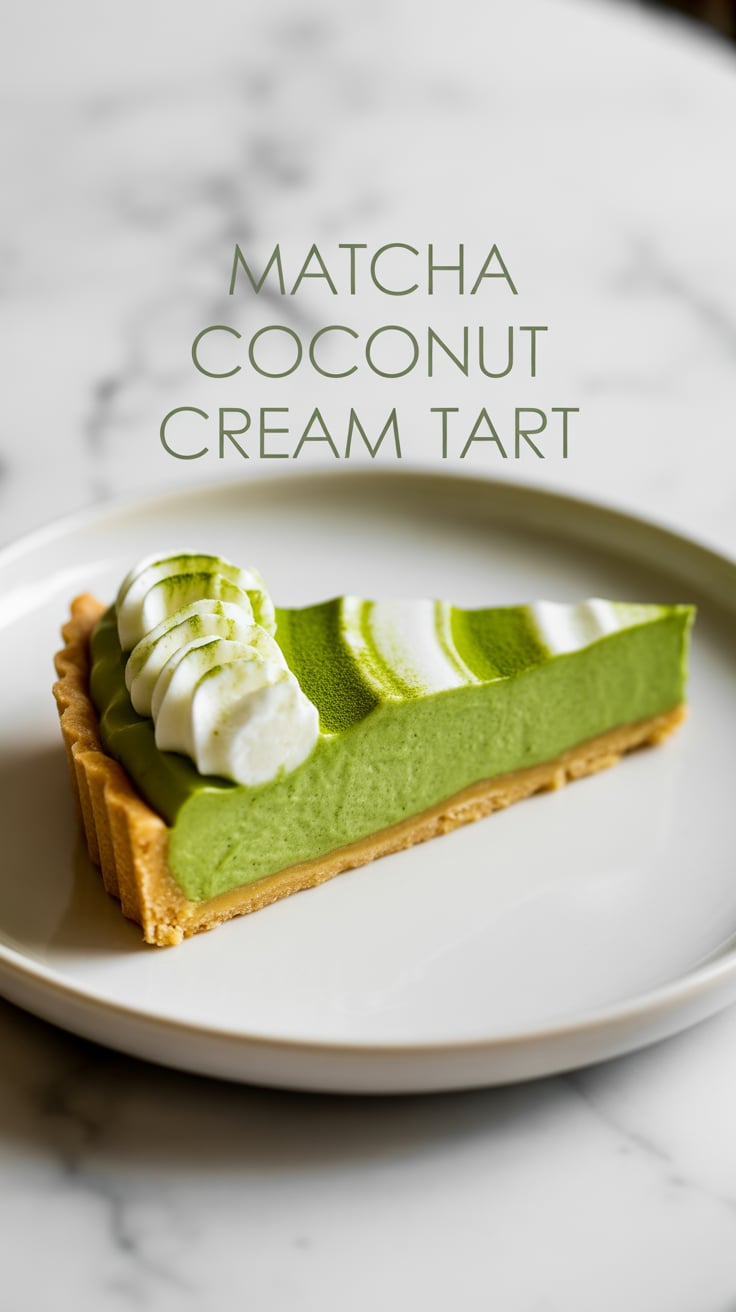
- 1 cup whipped cream
- Matcha powder for dusting
Preparing the Ingredients:
Before you begin making the Matcha Coconut Cream Tart, make sure to have all your ingredients measured out and ready to go. This will help streamline the baking process and ensure that everything comes together smoothly.
Cutting Techniques:
When cutting the tart into slices, make sure to use a sharp knife and wipe it clean between cuts to ensure clean edges and a beautiful presentation.
Kitchen Tools Required:
To make the Matcha Coconut Cream Tart, you will need a mixing bowl, a whisk, a saucepan, a tart pan, and a hand mixer. These tools are essential for creating the perfect texture and consistency in the tart.
Temperature and Timing Guide:
Preheat your oven to 350°F and bake the crust for 10 minutes, then let it cool before adding the filling. The tart should be chilled in the refrigerator for at least 2 hours before serving to allow the flavors to meld together.
Common Issues and Solutions:
- If the filling is too runny, add more cornstarch to thicken it up.
- If the crust is too crumbly, press it firmly into the tart pan to create a solid base.
Instructions:
Step 1: Prepare the Crust
In a mixing bowl, combine graham cracker crumbs, sugar, and melted butter. Press the mixture into a tart pan and bake at 350°F for 10 minutes. Let cool.
Step 2: Make the Filling
In a saucepan, whisk together coconut milk, sugar, cornstarch, and matcha powder. Cook over medium heat until thickened. Pour the filling into the cooled crust and refrigerate for 2 hours.
Step 3: Add the Topping
Top the chilled tart with whipped cream and dust with matcha powder. Slice and serve chilled.
Tips for Perfect Results:
- Make sure to use high-quality matcha powder for the best flavor and color.
- Chill the tart for at least 2 hours before serving to allow the flavors to develop.
Alternative Ways to Change the Recipe
If you want to switch up the flavors in the Matcha Coconut Cream Tart, you can try adding different toppings such as fresh berries or toasted coconut. You can also experiment with different crusts, such as a chocolate cookie crust or a shortbread crust, to create a unique twist on this classic dessert.
Final Thoughts
The Matcha Coconut Cream Tart is a delightful treat that combines the earthy flavor of matcha with the creamy richness of coconut. Whether you are a matcha lover or just looking to try something new, this tart is sure to impress. So gather your ingredients, preheat your oven, and get ready to indulge in a slice of this delicious dessert. Enjoy!


