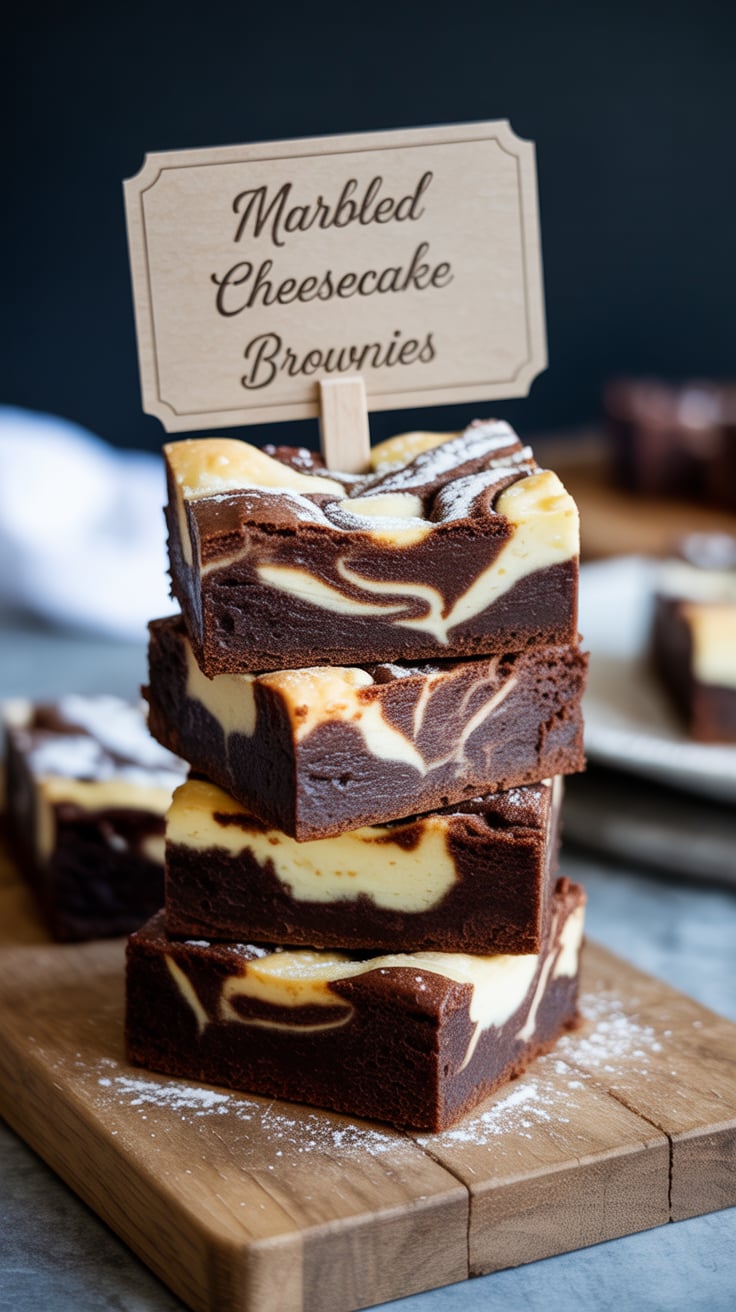
Imagine yourself in a cozy kitchen, the smell of freshly baked goods wafting through the air. The oven is preheated, and you are about to embark on a culinary adventure to create a decadent treat that will delight your taste buds. This is the magic of marbled cheesecake brownies.
Why My Family Loves This Treat
Marbled cheesecake brownies hold a special place in my family’s heart. It all started when my grandmother passed down her cherished recipe to my mother, who then shared it with me. These brownies have been a staple at family gatherings, birthdays, and holidays for as long as I can remember. The rich chocolatey base combined with the creamy swirls of cheesecake creates a perfect balance of flavors that never fails to impress.
The History and Origins of Marbled Cheesecake Brownies
The origins of marbled cheesecake brownies can be traced back to the United States in the 1980s. This delightful dessert is a fusion of two beloved treats – brownies and cheesecake. The combination of fudgy brownie batter and tangy cream cheese creates a unique and indulgent dessert that has stood the test of time.
Reasons Why You Should Make Marbled Cheesecake Brownies
- They are the perfect combination of chocolatey and creamy flavors.
- They are easy to make and require simple ingredients.
- They are a crowd-pleaser at any gathering or event.
- They can be customized with different toppings or mix-ins.
Ingredients:
- For the Brownie Layer:
- 1/2 cup unsalted butter
- 1 cup granulated sugar
- 2 large eggs
- 1 teaspoon vanilla extract
- 1/3 cup cocoa powder
- 1/2 cup all-purpose flour
- 1/4 teaspoon salt
- For the Cheesecake Layer:
- 8 oz cream cheese, softened
- 1/4 cup granulated sugar
- 1 large egg
- 1/2 teaspoon vanilla extract
Preparing the Ingredients:
Before you begin making your marbled cheesecake brownies, make sure all your ingredients are at room temperature. This will ensure that everything mixes together smoothly and evenly. Soften the cream cheese by leaving it out on the counter for about 30 minutes before starting the recipe.
Cutting Techniques:
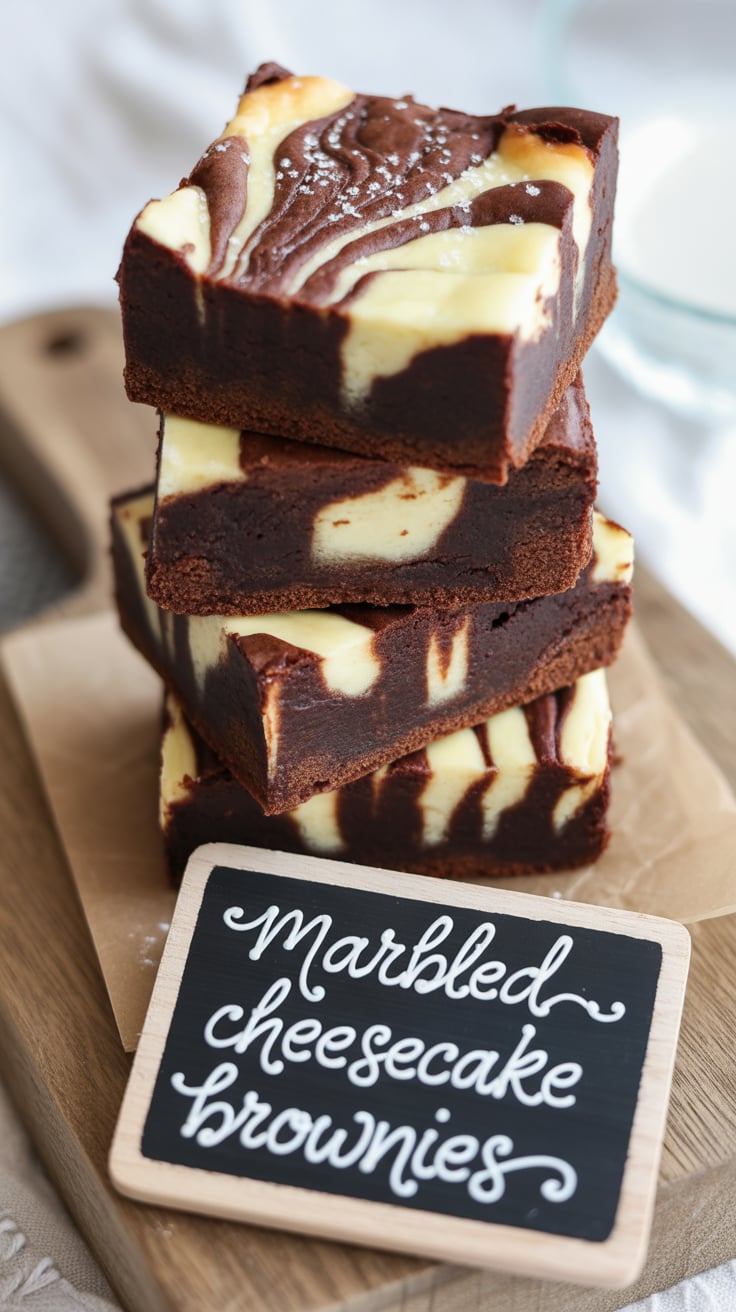
When cutting your marbled cheesecake brownies, use a sharp knife and wipe it clean between each cut to ensure clean, neat slices. For a cleaner cut, you can also chill the brownies in the refrigerator for about an hour before slicing.
Kitchen Tools Required:
To make marbled cheesecake brownies, you will need a mixing bowl, a hand mixer or stand mixer, a baking pan, parchment paper, and a spatula. These tools are essential for mixing the batter, creating the marbled effect, and baking the brownies to perfection.
Temperature and Timing Guide:
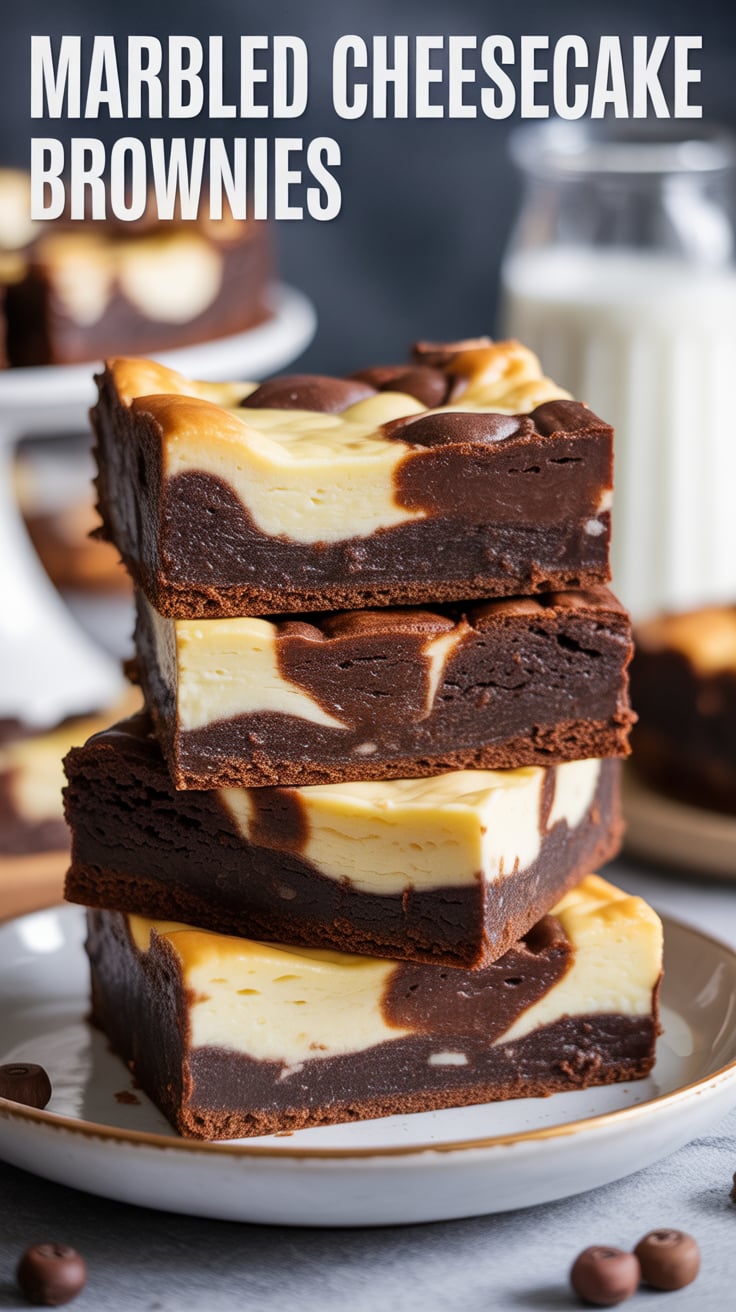
Preheat your oven to 350°F (175°C) and bake the marbled cheesecake brownies for 25-30 minutes, or until the edges are set and the center is slightly jiggly. Allow the brownies to cool completely before slicing and serving.
Common Issues and Solutions:
- If your brownie batter is too thick, you can add a splash of milk to thin it out.
- If your cheesecake batter is lumpy, make sure your cream cheese is fully softened and mix until smooth.
- If your brownies are browning too quickly in the oven, cover them with foil halfway through baking.
Instructions:
Step 1: Prepare the Brownie Layer
In a mixing bowl, cream together the butter and sugar until light and fluffy. Add the eggs one at a time, mixing well after each addition. Stir in the vanilla extract. In a separate bowl, sift together the cocoa powder, flour, and salt. Gradually add the dry ingredients to the wet ingredients, mixing until just combined. Spread the brownie batter evenly into a parchment-lined baking pan.
Step 2: Prepare the Cheesecake Layer
In a separate mixing bowl, beat the cream cheese and sugar until smooth. Add the egg and vanilla extract, mixing until well combined. Pour the cheesecake batter over the brownie layer in the baking pan.
Step 3: Create the Marbled Effect
Using a knife or toothpick, gently swirl the brownie and cheesecake batters together to create a marbled effect. Be careful not to overmix, as you want distinct swirls of each layer to show through.
Step 4: Bake and Cool
Bake the marbled cheesecake brownies in the preheated oven for 25-30 minutes, or until set. Allow the brownies to cool completely in the pan before slicing into squares and serving.
Tips for Perfect Results:
- Do not overmix the batters when creating the marbled effect.
- Allow the brownies to cool completely before slicing to ensure clean cuts.
- Store any leftovers in an airtight container in the refrigerator for up to 3 days.
Alternative Ways to Customize the Recipe
- Swap out the cocoa powder for melted chocolate for a richer brownie base.
- Add chopped nuts or chocolate chips to the brownie batter for added texture.
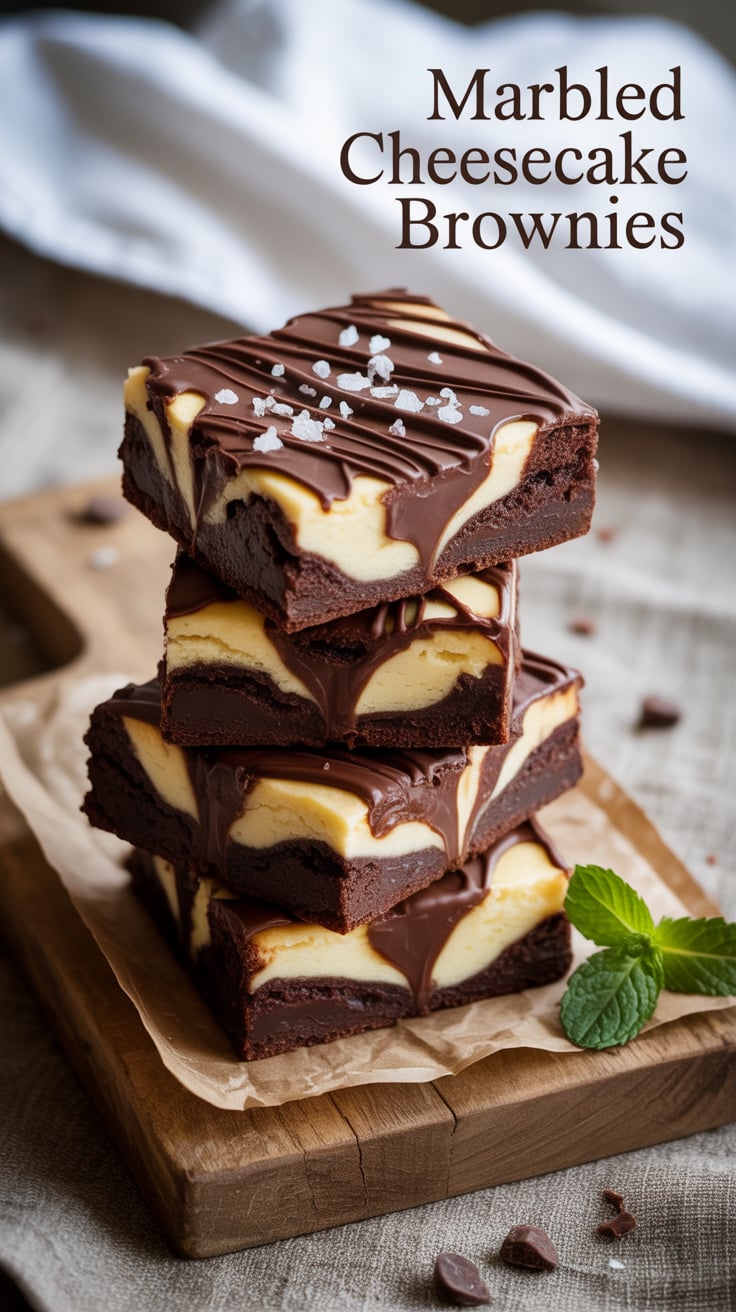
- Top the brownies with a drizzle of caramel or chocolate sauce for an extra indulgent touch.
Final Thoughts
Marbled cheesecake brownies are a delightful treat that combines the best of both worlds – rich chocolatey brownies and creamy cheesecake. Whether you are baking them for a special occasion or just to satisfy your sweet tooth, these brownies are sure to impress. So gather your ingredients, preheat your oven, and get ready to indulge in a slice of marbled cheesecake brownie heaven. Enjoy!


