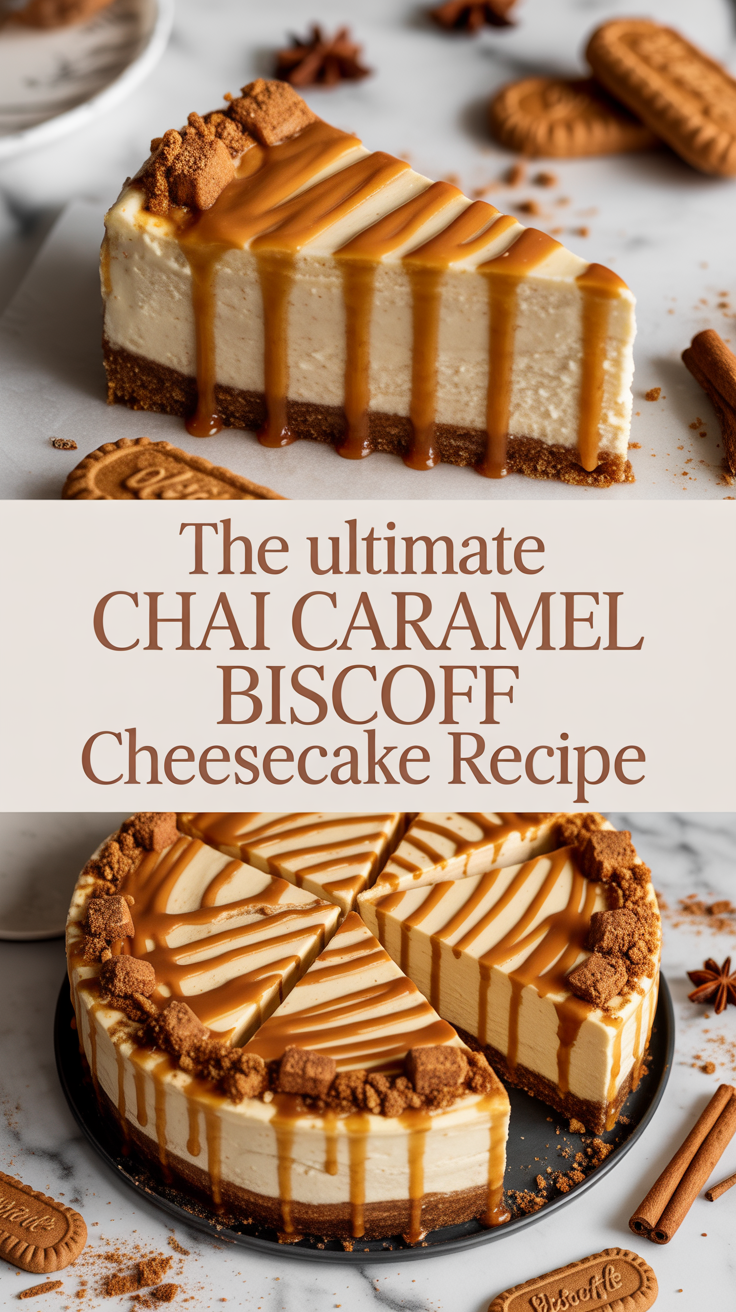
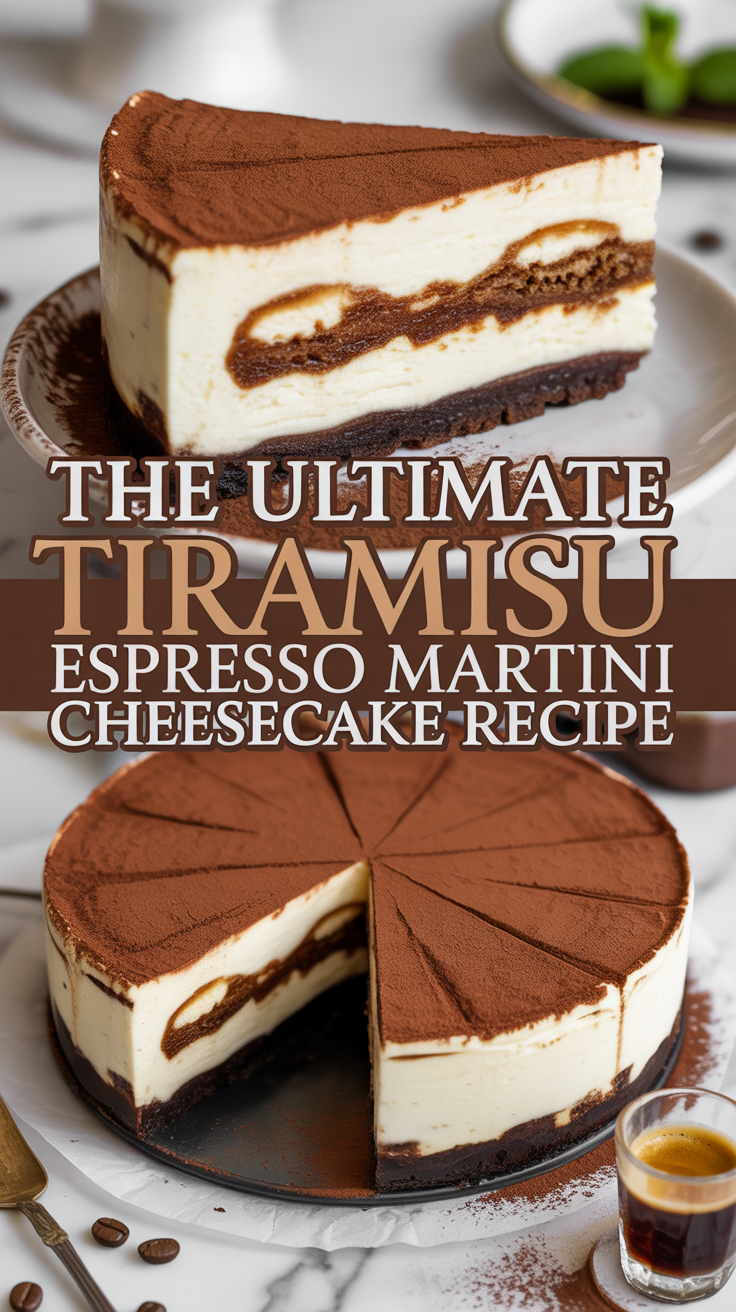
Imagine yourself in a cozy kitchen, surrounded by the warm aroma of freshly baked goods. The sound of laughter fills the air as your family eagerly awaits the dessert you are about to unveil. As you slice into the creamy, decadent cashew cheesecake, you can’t help but smile at the joy it brings to your loved ones.
Why My Family Loves This Treat
My family has always had a sweet tooth, and finding delicious desserts that cater to our dietary preferences can be a challenge. That’s why we fell in love with cashew cheesecake – a vegan twist on the classic dessert that satisfies our cravings without compromising on flavor. The rich, creamy texture and nutty undertones make it a favorite in our household, and it has become a staple at our gatherings and celebrations.
The History and Origins of Cashew Cheesecake
Cashew cheesecake has its roots in the plant-based culinary world, where chefs and home cooks alike have been experimenting with dairy-free alternatives to traditional desserts. Cashews, with their creamy consistency and mild flavor, make the perfect base for a vegan cheesecake that rivals its dairy counterpart. This innovative twist on a classic recipe has gained popularity among vegans, lactose-intolerant individuals, and health-conscious eaters looking for a guilt-free indulgence.
Reasons to Make Cashew Cheesecake
- It is a delicious and indulgent dessert that satisfies your sweet cravings.
- It is a healthier alternative to traditional cheesecake, as it is dairy-free and lower in saturated fats.
- It is easy to make and requires minimal ingredients, making it a convenient option for busy home cooks.
- It can be customized with a variety of flavors and toppings to suit your preferences and dietary restrictions.

Ingredients:
- 1 1/2 cups raw cashews, soaked overnight – Cashews are the star ingredient in this recipe, providing a creamy texture and nutty flavor.
- 1/2 cup coconut oil, melted – Coconut oil adds richness and helps the cheesecake set properly.
- 1/2 cup maple syrup – Maple syrup sweetens the cheesecake naturally, without the need for refined sugars.
- 1/4 cup lemon juice – Lemon juice adds a tangy flavor that balances the sweetness of the cheesecake.
- 1 tsp vanilla extract – Vanilla extract enhances the flavor of the cheesecake and adds a hint of sweetness.
- Pinch of salt – Salt enhances the flavors in the cheesecake and balances the sweetness.
Preparing the Ingredients:
Before you begin making the cashew cheesecake, make sure to soak the raw cashews overnight to soften them and make them easier to blend. Drain and rinse the cashews before using them in the recipe.
Cutting Techniques:
When cutting the cheesecake into slices, make sure to use a sharp knife dipped in hot water to ensure clean, smooth cuts. Wipe the knife clean between each slice for a polished presentation.
Kitchen Tools Required:
To make cashew cheesecake, you will need a high-speed blender or food processor to blend the ingredients into a smooth, creamy consistency. You will also need a springform pan to set the cheesecake and a spatula for smoothing the top.
Temperature and Timing Guide:
Preheat your oven to 350°F (180°C) before baking the cheesecake. Bake for 45-50 minutes, or until the edges are set and the center is slightly jiggly. Allow the cheesecake to cool completely before refrigerating for at least 4 hours to set.
Common Issues and Solutions:
- If your cheesecake is too soft, refrigerate it for longer to allow it to set properly.
- If your cheesecake is too firm, let it sit at room temperature for a few minutes before serving to soften slightly.
- If your cheesecake cracks on top, cover it with a layer of whipped coconut cream or fruit compote to hide the imperfections.

Instructions:
Step 1: Blend the Ingredients
In a high-speed blender or food processor, combine the soaked cashews, melted coconut oil, maple syrup, lemon juice, vanilla extract, and salt. Blend until smooth and creamy, scraping down the sides as needed.
Step 2: Prepare the Crust
Press the mixture into the bottom of a springform pan lined with parchment paper, creating an even layer for the crust. Place in the freezer to set while you prepare the filling.
Step 3: Pour the Filling
Pour the blended cashew mixture over the prepared crust, smoothing the top with a spatula. Tap the pan gently on the counter to remove any air bubbles.
Step 4: Bake and Chill
Bake the cheesecake in a preheated oven for 45-50 minutes, or until the edges are set and the center is slightly jiggly. Allow the cheesecake to cool completely before refrigerating for at least 4 hours to set.
Step 5: Serve and Enjoy
Once the cheesecake has set, remove it from the springform pan and slice into pieces using a sharp knife dipped in hot water. Serve chilled and enjoy the creamy, indulgent flavors of cashew cheesecake.
Tips for Perfect Results:
- Soak the cashews overnight for a smooth and creamy texture.
- Use high-quality ingredients for the best flavor and results.
- Allow the cheesecake to set in the refrigerator for at least 4 hours before serving.
- Customize the cheesecake with your favorite toppings, such as fresh fruit, nuts, or chocolate drizzle.

Alternative Ways to Enjoy Cashew Cheesecake:
- Try adding different flavors to the filling, such as matcha powder, cocoa powder, or fruit puree.
- Experiment with different crust options, such as a nut and date crust or a gluten-free cookie crust.
- Top the cheesecake with a homemade fruit compote, caramel sauce, or whipped coconut cream for added indulgence.
Final Thoughts
Creating a vegan cashew cheesecake isn’t just about the dessert; it’s about the joy it brings to loved ones. Each slice serves as a reminder that indulgence can be guilt-free and delicious.
Cashews provide a creamy texture that rivals traditional cheesecakes, perfectly balanced with the sweetness of maple syrup and a hint of tang from lemon juice.
Customize this treat with your favorite toppings and flavors, making it a perfect fit for any occasion. Every bite is a celebration of connection and the delights of plant-based living. So gather your ingredients and dive into this creamy bliss—your taste buds will thank you!