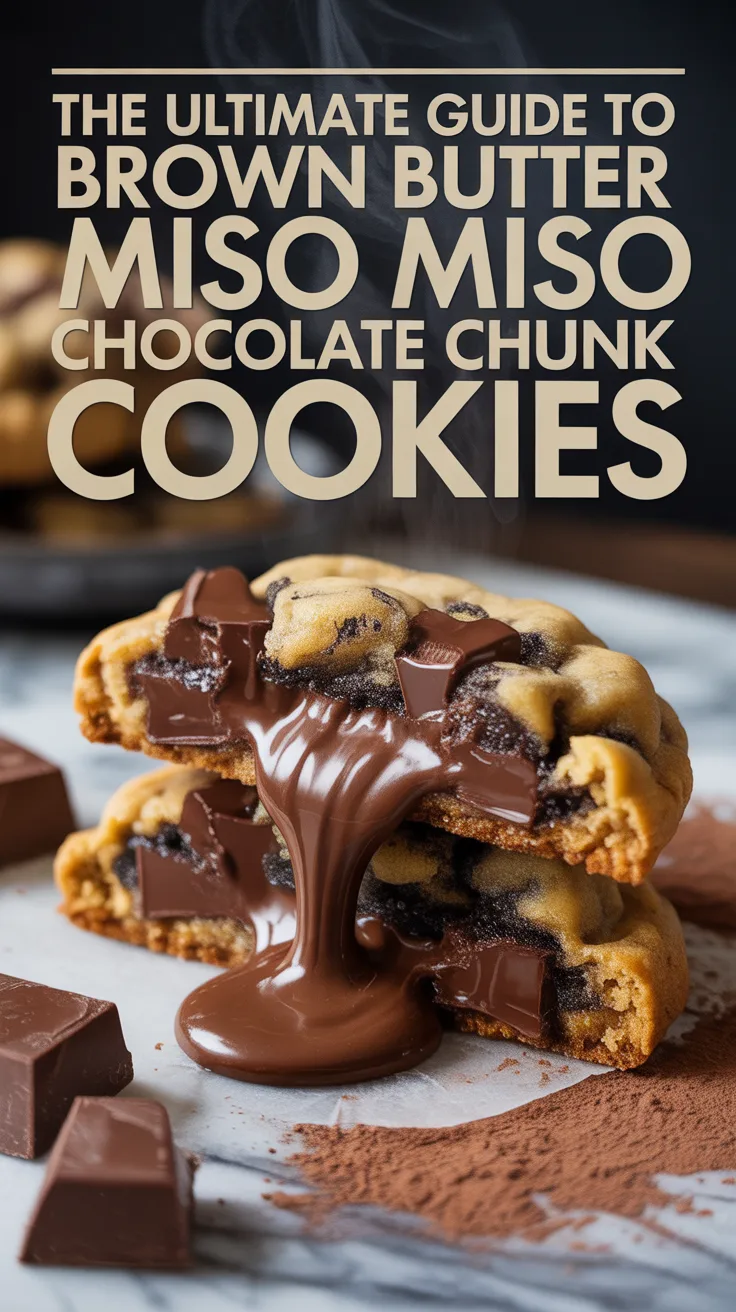
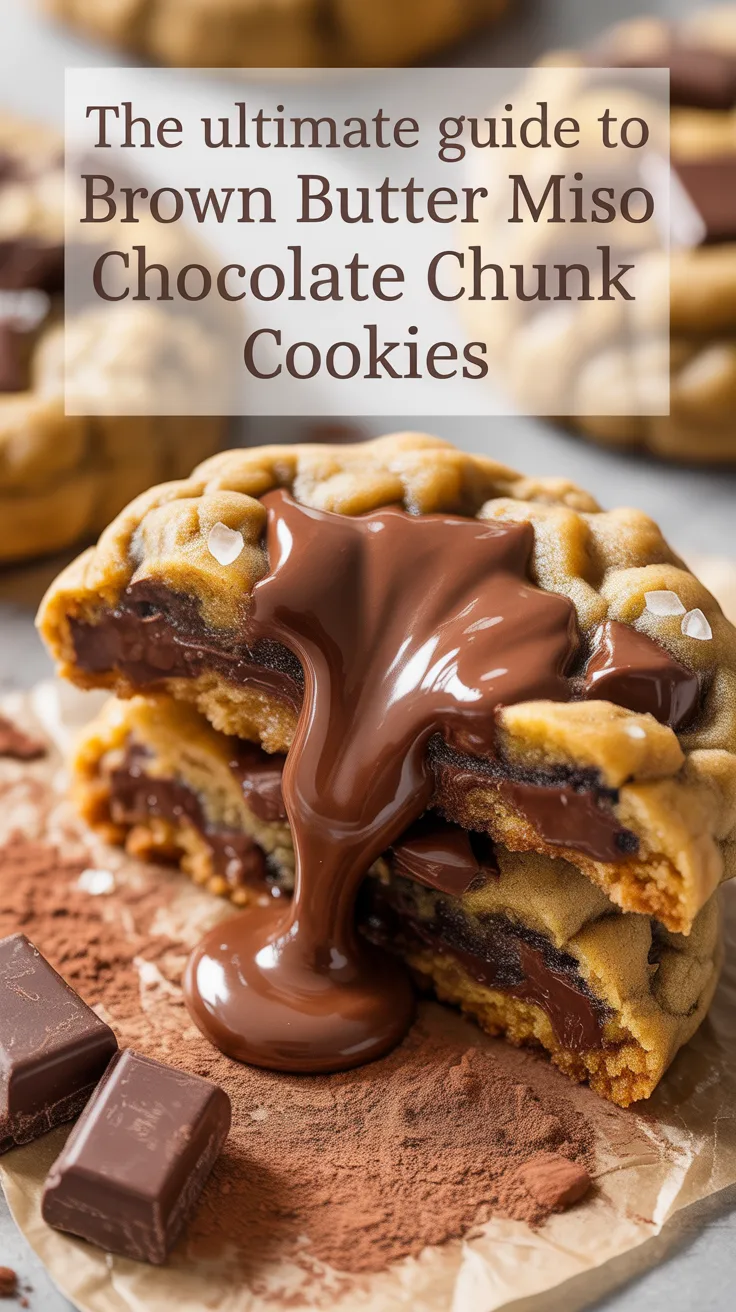
Imagine yourself in a cozy kitchen, surrounded by the warm aroma of freshly baked cookies. The sound of laughter fills the air as your family eagerly waits for a batch of delicious treats to come out of the oven. This is the scene that plays out in my home every time we make our favorite dessert – Brown Butter Miso Chocolate Chunk Cookies.
Why My Family Loves This Treat
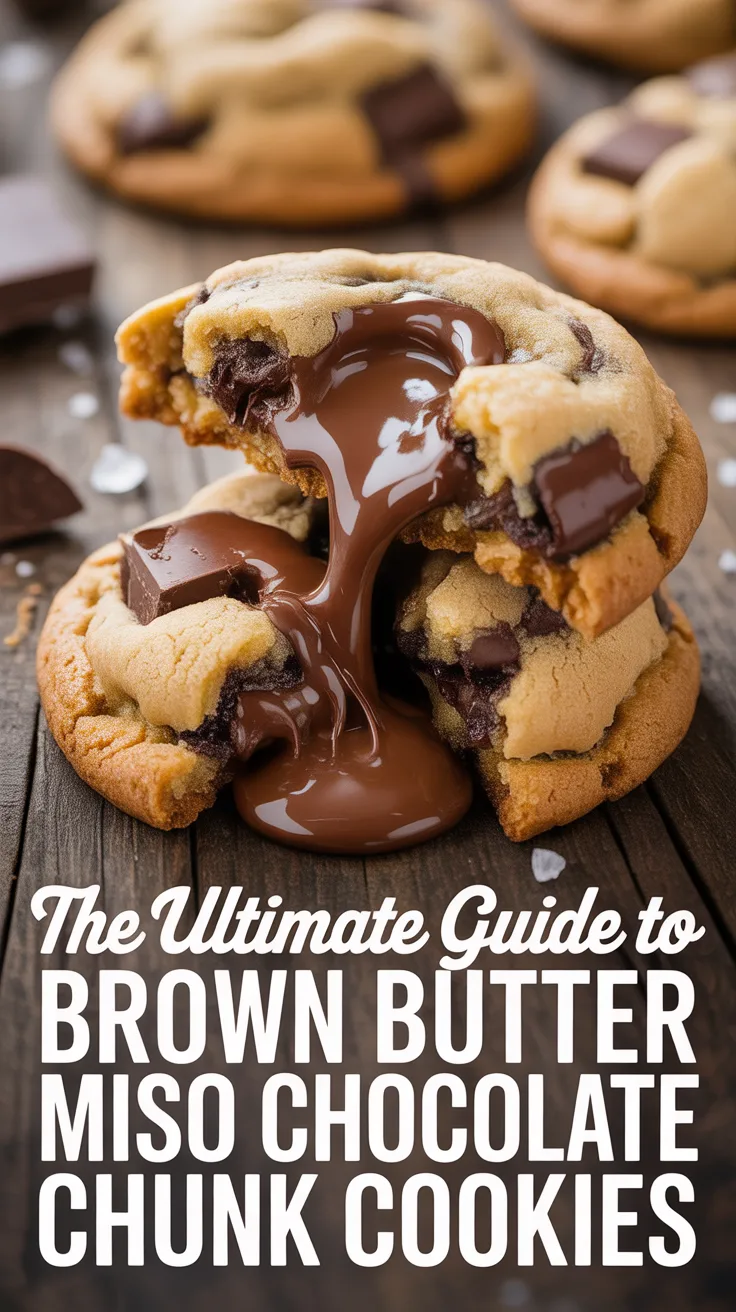
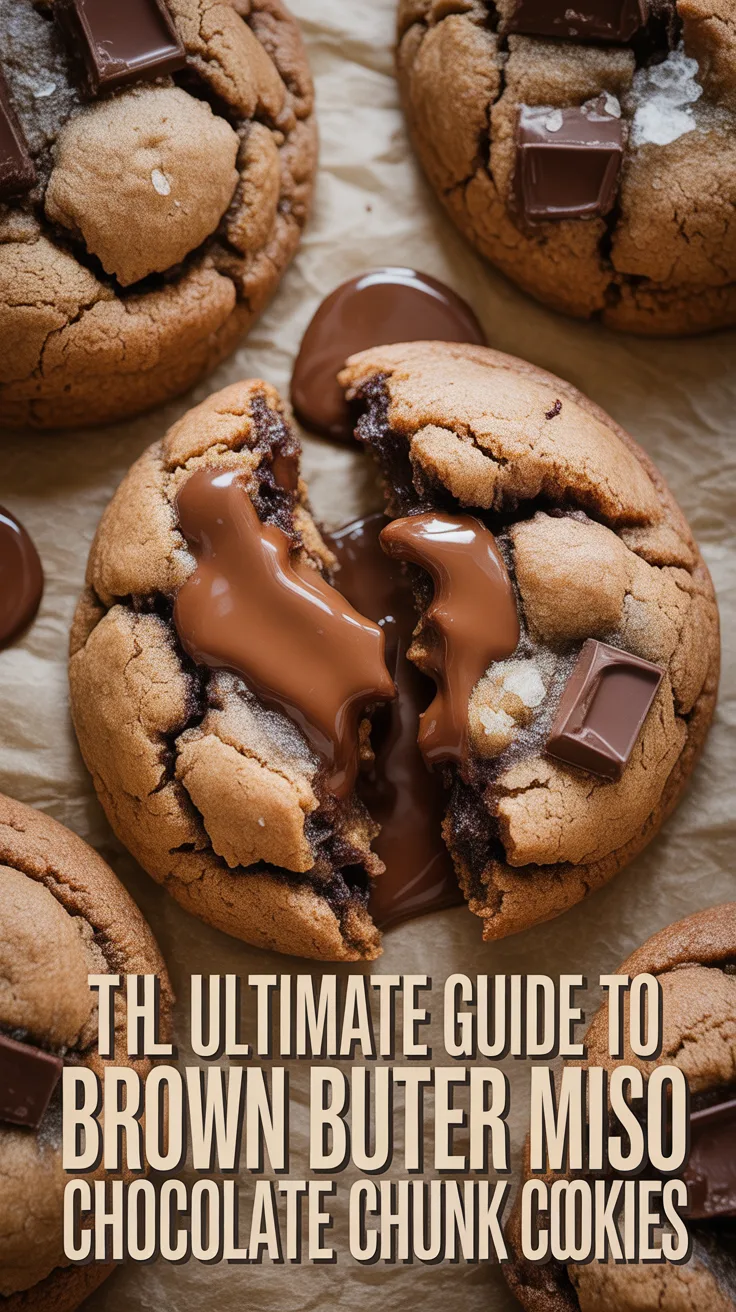
There’s something truly magical about the combination of rich brown butter, umami-packed miso, and decadent chocolate chunks. These cookies have the perfect balance of sweet and savory flavors, making them a unique and irresistible treat that everyone in my family adores. The chewy texture and caramelized edges add an extra layer of indulgence that keeps us coming back for more.
The History and Origins of the Dish
The origins of Brown Butter Miso Chocolate Chunk Cookies can be traced back to the creative minds of pastry chefs looking to push the boundaries of traditional cookie recipes. The addition of miso, a staple in Japanese cuisine, adds a depth of flavor that elevates these cookies to a whole new level. This innovative twist on a classic dessert has gained popularity in recent years, becoming a favorite among food enthusiasts around the world.
Reasons Why You Should Make This Dish
- Unique flavor profile that combines sweet and savory elements
- Chewy texture with caramelized edges for the perfect cookie experience
- Easy to make with simple ingredients that you likely already have in your pantry
- A crowd-pleaser that will impress friends and family at any gathering
Ingredients:
- 1 cup unsalted butter – Brown butter adds a rich and nutty flavor to the cookies.
- 2 tablespoons white miso paste – Adds a savory umami kick to balance out the sweetness.
- 1 cup brown sugar – Provides a deep caramel flavor and chewy texture.
- 1/2 cup granulated sugar – Adds sweetness and helps the cookies spread while baking.
- 2 eggs – Binds the ingredients together and adds moisture.
- 2 teaspoons vanilla extract – Enhances the overall flavor of the cookies.
- 2 1/4 cups all-purpose flour – Provides structure and texture to the cookies.
- 1 teaspoon baking soda – Helps the cookies rise and spread while baking.
- 1/2 teaspoon salt – Balances out the sweetness and enhances the flavors.
- 2 cups chocolate chunks – Adds decadent pockets of chocolate throughout the cookies.
Preparing the Ingredients:
Before you start making the cookies, make sure to have all your ingredients measured out and ready to go. This will help streamline the baking process and ensure that everything comes together smoothly.
Cutting Techniques:
When cutting the butter into chunks, make sure it is cold but not frozen. This will make it easier to brown the butter evenly and create a rich nutty flavor.
Kitchen Tools Required:
- Mixing bowls – for combining ingredients
- Whisk or electric mixer – for creaming the butter and sugar
- Baking sheets – for baking the cookies
- Parchment paper – to prevent sticking
- Cookie scoop or spoon – for portioning out the dough
Temperature and Timing Guide:
Preheat your oven to 350°F (180°C) and bake the cookies for 10-12 minutes, or until the edges are golden brown. Allow the cookies to cool on the baking sheet for a few minutes before transferring them to a wire rack to cool completely.
Common Issues and Solutions:
- If the cookies spread too much while baking, try chilling the dough in the refrigerator for 30 minutes before baking.
- If the cookies are too dry, try reducing the baking time slightly to achieve a chewier texture.
- If the cookies are too sweet, try reducing the amount of sugar in the recipe or using dark chocolate chunks instead of milk chocolate.
Instructions:
Step 1: Brown the Butter
In a saucepan, melt the butter over medium heat, stirring occasionally. Continue cooking until the butter turns a deep golden brown color and has a nutty aroma. Remove from heat and let cool slightly.
Step 2: Mix the Wet Ingredients
In a mixing bowl, whisk together the brown butter, miso paste, brown sugar, granulated sugar, eggs, and vanilla extract until well combined.
Step 3: Add the Dry Ingredients
In a separate bowl, sift together the flour, baking soda, and salt. Gradually add the dry ingredients to the wet ingredients, mixing until just combined. Fold in the chocolate chunks.
Step 4: Chill the Dough
Cover the dough with plastic wrap and chill in the refrigerator for at least 30 minutes to allow the flavors to meld and the dough to firm up.
Step 5: Bake the Cookies
Preheat your oven to 350°F (180°C) and line a baking sheet with parchment paper. Using a cookie scoop or spoon, portion out the dough onto the baking sheet, leaving space between each cookie. Bake for 10-12 minutes, or until the edges are golden brown. Allow the cookies to cool on the baking sheet before transferring to a wire rack to cool completely.
Tips for Perfect Results:
- Use high-quality chocolate chunks for the best flavor and texture.
- Don’t overmix the dough to avoid tough cookies.
- Allow the cookies to cool completely before storing to prevent them from becoming soggy.
Alternative Ways to Change the Recipe:
- Swap out the chocolate chunks for white chocolate or butterscotch chips for a different flavor profile.
- Add chopped nuts or dried fruit for extra texture and flavor.
- Experiment with different types of miso paste for a unique twist on the recipe.
Final Thoughts
These Brown Butter Miso Chocolate Chunk Cookies are more than just a dessert; they’re an experience that brings joy to every occasion. With their unique flavor profile, they merge sweetness and umami, creating a treat that will leave your taste buds dancing. Whether you’re a seasoned baker or a newbie in the kitchen, the simplicity of this recipe makes it an achievable delight that will impress your friends and family.
Plus, the addition of brown butter gives each bite a rich, nutty warmth that’s hard to resist. So gather your ingredients and start baking—these cookies are sure to become a cherished favorite in your home, just as they are in mine. Don’t forget to enjoy them warm out of the oven for an extra special treat!